From Proposal to Paint Day: How to Organize a Community Mural Project
The first time a neighborhood paints a wall together, something shifts. Kids who usually cut through the alley start pointing at it. Shopkeepers sweep the sidewalk in front. A blank surface everyone walked past becomes a landmark. Getting there takes more planning than painting, and the planning is what separates a joyful paint day from a frustrating one. Here is how organizers take a community mural from a rough idea to a finished wall.
Choose the Wall Before You Choose the Picture
Walk the neighborhood with a camera and photograph candidate walls at three times of day. You want a surface that is visible, safe to stand beside for hours, and owned by someone who will say yes in writing. Surface type matters: brick, stucco and concrete all take paint differently, and a wall with peeling paint or active water damage needs repair first, not a coat of color over the problem.
Check the light. A west-facing wall bakes in the afternoon and can be brutal on volunteers; a north-facing wall stays damp longer and may hold moisture under the paint. Also talk to the people who live beside the wall, not only the owner. A mural that blocks a window or brightens someone's bedroom wall needs their goodwill as much as a signature. Before you buy a single can, ask your local planning or arts office what permits apply, and take legal, insurance and property questions to a qualified professional.
Get Permissions in Writing
A handshake is not a permission. Ask for a short letter that names the owner, the wall address, its dimensions, the planned design, how long the mural may stay, who handles maintenance, and confirmation that the design will be reviewed before painting. If the wall is shared, every owner signs. Historic districts, sign rules and easements can quietly govern what you're allowed to paint, so raise the question early rather than discovering it after the primer is up.
Insurance is part of the same conversation. Many community projects carry general liability coverage, and some property owners will ask for a certificate. If young people will be painting, guardians should sign releases, and your insurer or a youth-serving organization can tell you what supervision ratios they expect.
Co-Design With the People Who Live There
Hold two meetings. The first is for listening: bring butcher paper and ask what the block wants to see, what it wants to stop seeing, and which stories belong on this wall. Do not show a finished design. The second meeting is for concepts — two or three directions drawn from what you heard in the first, presented at the same proportions as the wall itself, with dot voting to find the front-runner. Then hand the winner to a small design team of three to five people, at least one of whom lives on the block.
Show the final design at full scale before anyone lifts a brush. A paper mock-up taped along the base of the wall, or an image projected onto it at night, resolves arguments in ten minutes that would otherwise take an afternoon.
Make the design paintable
- Keep the palette to eight or twelve colors so supplies stay affordable and volunteers can mix accurately.
- Favor big shapes and clear edges; they tolerate inexpert hands far better than fine detail.
- Outline everything in a dark line. It hides wobbles and gives painters a target.
- Leave one zone deliberately forgiving — a field of sky, water or flowers — where children can fill in freely.
Build a Volunteer Crew That Doesn't Burn Out
Recruit for tasks, not for the vague idea of helping. Ask each person for a specific shift and a specific job; vague invitations get vague responses.
- Zone captains: one per section, briefed a day early so they can answer questions on the spot.
- Prep crew: washing, scraping, priming, taping edges.
- Painters: two- to three-hour shifts, signed up online or on a paper sheet at a local shop.
- Runners: refilling trays, mixing color, keeping every container labeled.
- Hospitality: water, shade, snacks, and knowing where the nearest bathroom is.
- Documenter: photos from the same angle each hour, plus the group shot at the end.
- Cleanup and touch-up: the people who stay last and matter most.
Aim for more volunteers than you think you need, and a core team of six to ten who have committed to the whole day rather than an hour.
Plan Paint Day Like a Small Event
Prime twenty-four to forty-eight hours ahead so the surface is dry. Snap chalk lines or project the design to set a grid, then tape the outlines of the large shapes. Set up a check-in table with sign-in sheets, name tags sorted by zone, gloves and a one-page task card for each job. Give every color its own labeled container and tape a swatch of it to the wall so nobody has to guess. Start with the biggest areas and lightest colors, and save dark outlines for the middle of the day, when the crew is warm and confident.
Have water, shade, sunscreen, a first aid kit, drop cloths, buckets, rags, a hand-washing station and labeled ladders with someone spotting each climber. Walk through ladder and lift safety before anyone goes up. Decide in advance where leftover paint and rinse water go.
Treat Weather as a Design Constraint
Most exterior acrylics want dry conditions and temperatures above roughly 10°C / 50°F, so read the label on your chosen product and plan within its range. Wind dries paint on the brush and blows grit into wet color; direct summer sun makes the wall hot and the volunteers hotter. Pick a mild season, start early, and break during the worst of the afternoon heat.
Watch the forecast at seventy-two, forty-eight and twenty-four hours out, and name a rain date in both the permits and the volunteer sign-up. Protect fresh work with tarps if a shower sneaks in, and set one firm rule: no painting within twenty-four hours of predicted rain, especially on a wall that stays damp.
Celebrate, Then Maintain
The finish deserves a party — a ribbon cutting, music, food from nearby businesses, a photographer, and a thank-you list read out loud. Paint a small credit panel with the project name, the year and the names of contributors.
Then comes the unglamorous part. Keep a touch-up kit with labeled leftover paint, primer and brushes, and hand it to the property owner along with written instructions. Ask whether an anti-graffiti clear coat makes sense for the location. Photograph the finished wall and file those images with funders and the local paper. Finally, write down what actually happened: who showed up, what the weather did, which tasks ran long, which colors disappeared fastest. That record is what makes the second mural easier than the first.
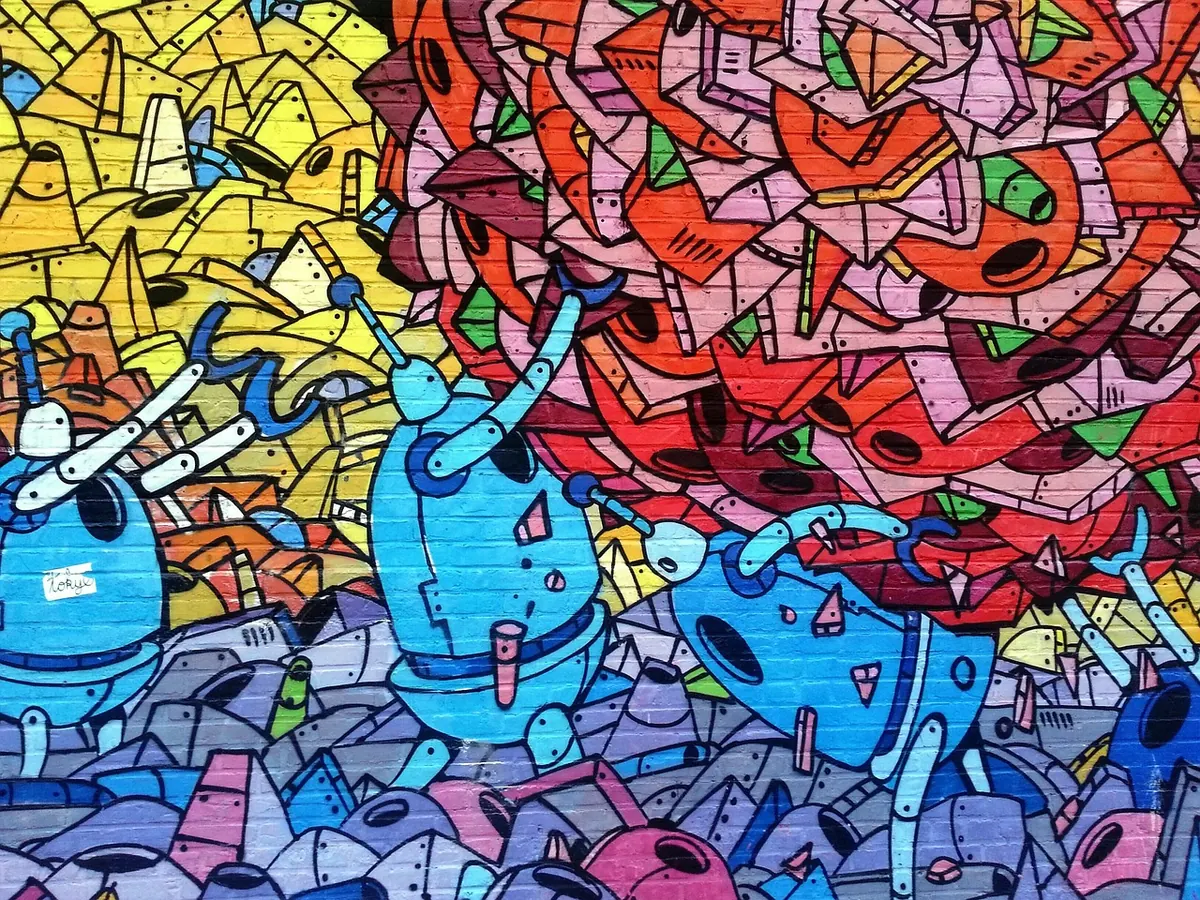
Photo: MMT / Pixabay